Installation
The following are steps needed to install the required software for setting up the react environment. By the end of these steps you will have a react ready directory to work with.
Table of contents
- Create a root folder
- Create package.json file
- Install react and react dom
- Install webpack
- Install babel
- Create files
Create a root folder
Open your “Terminal” and enter the following code.
$ cd Desktop
$ mkdir createReactApp
$ cd creatReactApp
$ open .
At this point, you should have an empty folder called “createReactApp”
Create package.json file
We have to initialize npm by running the following code in your terminal. This will create the package.json file.
Open your “Terminal” and enter the following code.
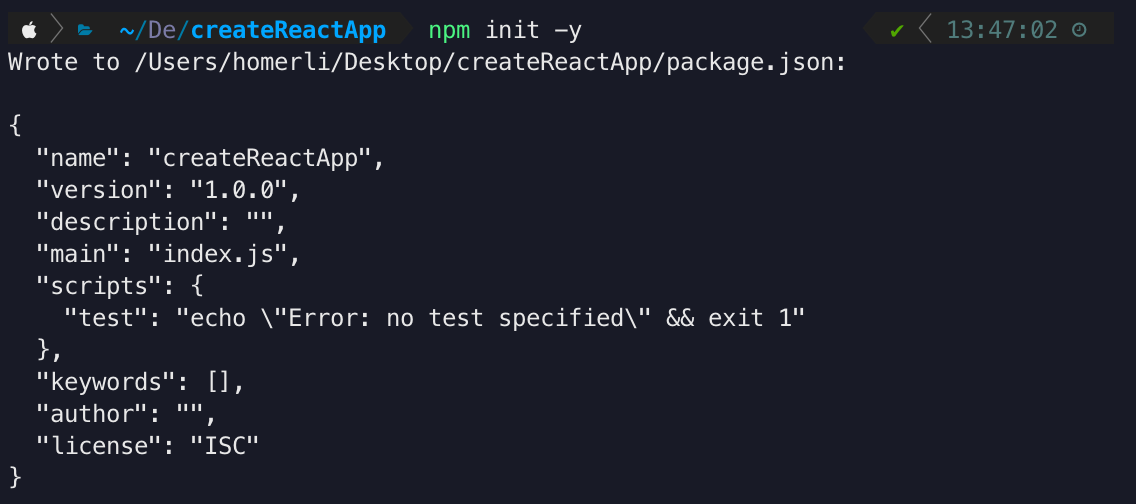
$ npm init -y
After this npm init -y, you will see this in your “Terminal”.
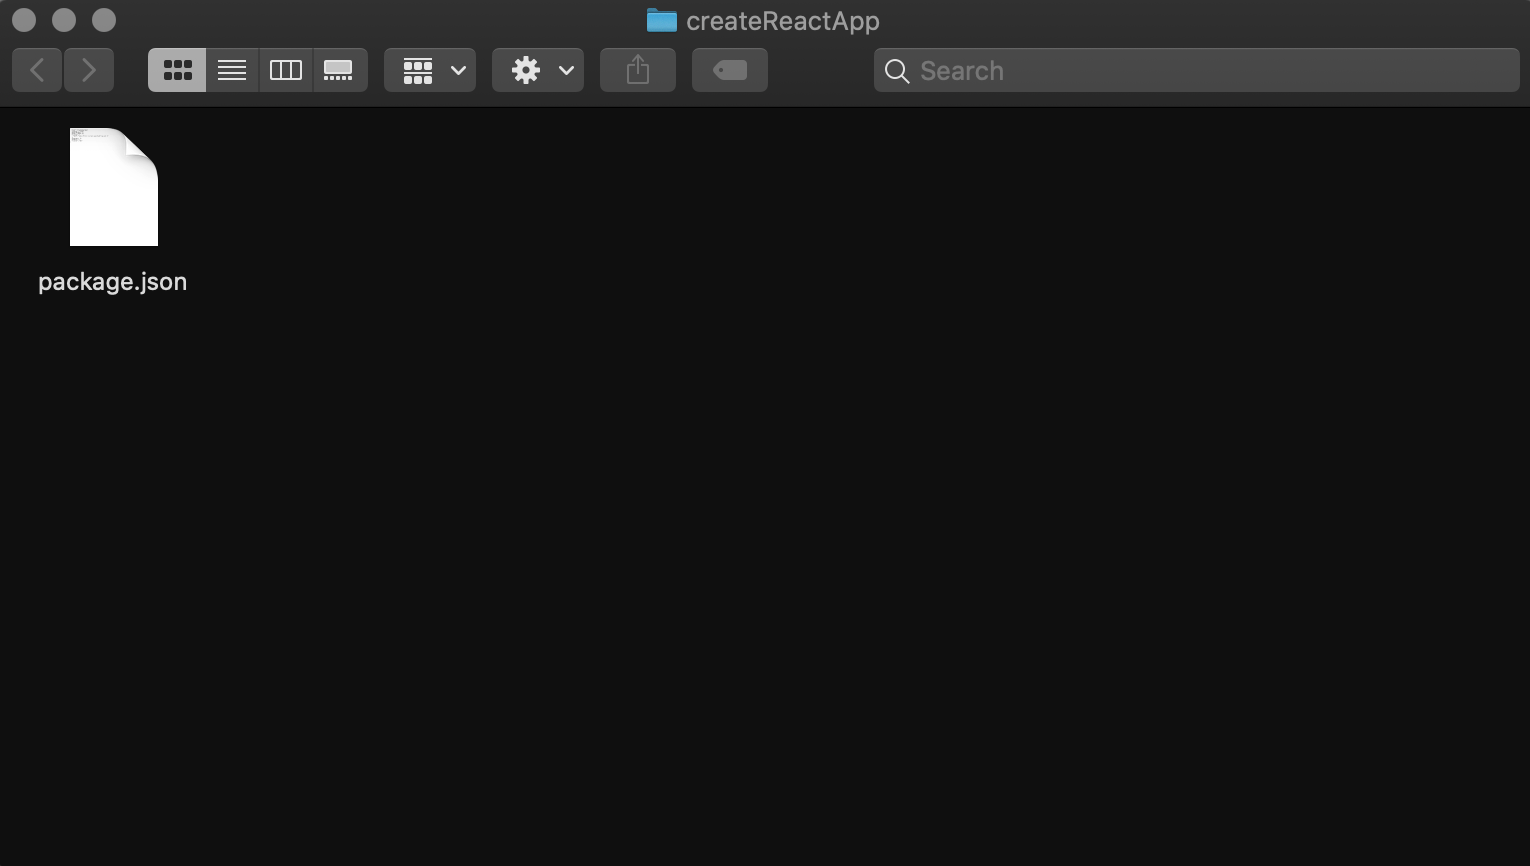
After this step, you will have this in your “createReactApp” folder.

Install react and react dom
The (react) package provides the necessary method to define React components. The (react-dom) package provides DOM-specific(client side) methods that can be used at the top level of your app and as an escape hatch to get outside of the React model if you need to.
Open your “Terminal” and enter the following code.
$ npm i react --save
$ npm i react-dom --save
Or you can just use one command:
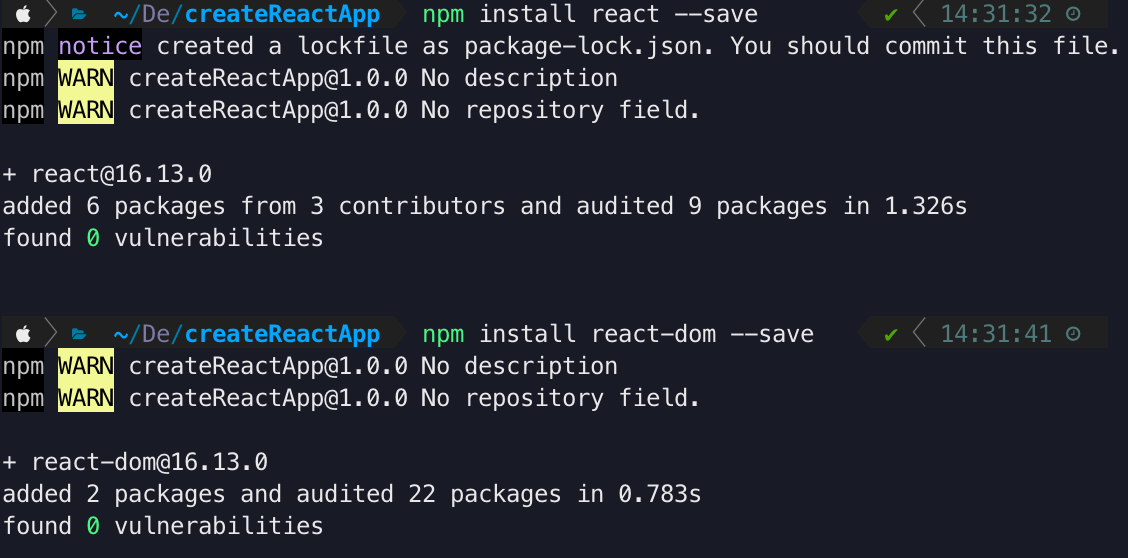
$ npm i react react-dom --saveStill in your “Terminal” and enter the following code.
After you type the code, you should see this in your “Terminal”.
Now open “VSCode” to view and edit the file contents of the project folder.
$ code .
Your package.json should look like this.
{
	"name": "createReactApp",
	"version": "1.0.0",
	"description": "",
	"main": "index.js",
	"scripts": {
		"test": "echo \"Error: no test specified\" && exit 1"
	},
	"keywords": [],
	"author": "",
	"license": "ISC",
	"dependencies": {
		"react": "^16.13.0",
		"react-dom": "^16.13.0"
	}
}
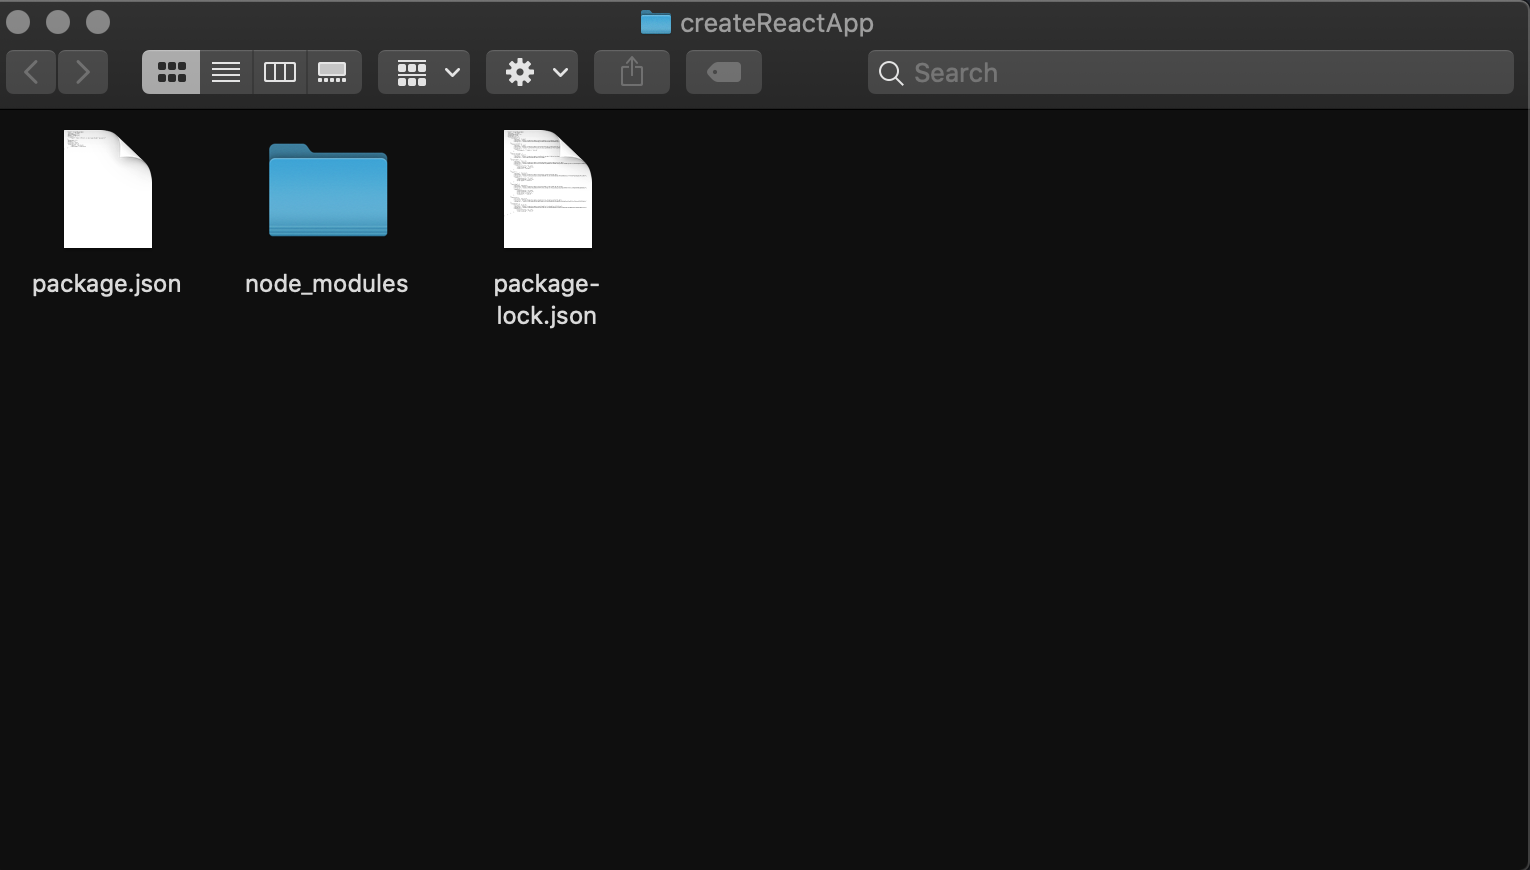
After this step, you will have this in your “createReactApp” folder.
Install webpack
(Webpack) is an open-source software that bundles JavaScript with the browser. (Webpack Dev Server) used as an HTTP server for serving files while developing. (webpack-cli) a command language that’s used with (webpack).
Open your “Terminal” and enter the following code.
$ npm install webpack --save
$ npm install webpack-dev-server --save
$ npm install webpack-cli --save
Or you can just use one command:
$ npm install webpack webpack-dev-server webpack-cli --save
After this step, your package.json should look like this:
{
	"name": "createReactApp",
	"version": "1.0.0",
	"description": "",
	"main": "index.js",
	"scripts": {
		"test": "echo \"Error: no test specified\" && exit 1"
	},
	"keywords": [],
	"author": "",
	"license": "ISC",
	"dependencies": {
		"react": "^16.13.0",
		"react-dom": "^16.13.0",
		"webpack": "^4.42.0",
		"webpack-cli": "^3.3.11",
		"webpack-dev-server": "^3.10.3"
	}
}
Install babel
(Babel) is a compiler that allows you to write JavaScript code in the latest version, even when your environments don’t support the latest syntax. (Babel) will compile the code you write to the working version of the environment.
Open your “Terminal” and enter the following code.
$ npm install @babel/runtime --save-dev
$ npm install @babel/core --save-dev
$ npm install @babel/preset-react --save-dev
$ npm install @babel/preset-env --save-dev
$ npm install babel-loader --save-dev
$ npm install html-webpack-plugin --save-dev
Or you can just use one command:
$ npm install @babel/runtime @babel/core @babel/preset-react @babel/preset-env babel-loader html-webpack-plugin --save-dev
After this step, you will see this in your package.json.
{
	"name": "createReactApp",
	"version": "1.0.0",
	"description": "",
	"main": "index.js",
	"scripts": {
		"test": "echo \"Error: no test specified\" && exit 1"
	},
	"keywords": [],
	"author": "",
	"license": "ISC",
	"dependencies": {
		"react": "^16.13.0",
		"react-dom": "^16.13.0",
		"webpack": "^4.42.0",
		"webpack-cli": "^3.3.11",
		"webpack-dev-server": "^3.10.3"
	},
	"devDependencies": {
		"@babel/core": "^7.8.7",
    	"@babel/preset-env": "^7.8.7",
    	"@babel/preset-react": "^7.8.3",
    	"@babel/runtime": "^7.8.7",
    	"babel-loader": "^8.0.6",
    	"html-webpack-plugin": "^3.2.0"
	}
}
Create files
At this step, you will need to create files that are needed for configuration.
Open your “Terminal” and enter the following code.
$ touch index.html
$ touch App.js
$ touch main.js
$ touch webpack.config.js
$ touch .babelrc
Or you can just use one command:
$ touch index.html App.js main.js webpack.config.js .babelrc
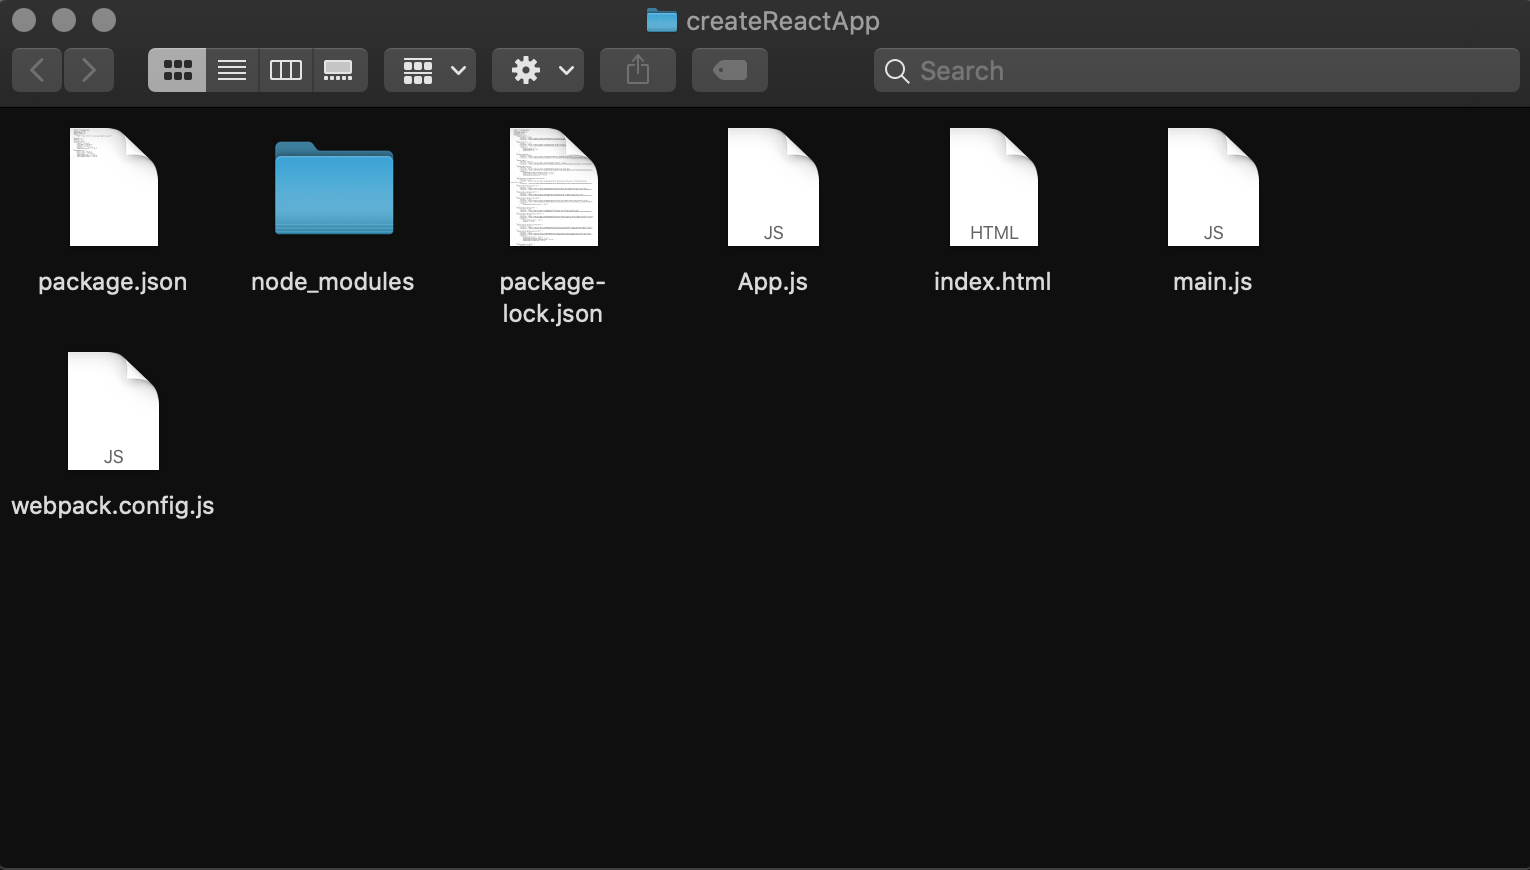
After this step, you will have this in you “createReactApp” folder.